Open the Spotlight Connection Manager
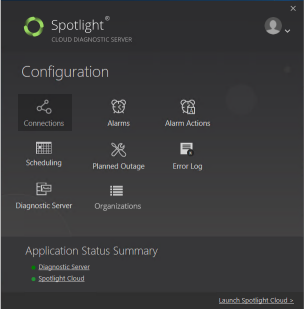
Open the Configuration Tool. You will find the Configuration Tool on the desktop of the computer where Spotlight Cloud is installed. Double click the desktop icon.
![]()
Sign in with your Quest account, and then from the Configuration panel, click Connections.

This opens the Spotlight Connection Manager
Add new Connection…
- From the Spotlight Connection Manager, select the connection type to add.
- Click Add new Connection.
- You will be prompted to fill in the connection details.
The Connection Discovery Wizard can be used to locate resources on the network and add those resources as Spotlight connections.
Enter Connection Details
The connection details are required. The details are dependent on the connection type.
Click on the connection type for more detail:
Add Connection Tags
Connection Tags are optional. Connection Tags are a free form organizational tool that may be applied to Spotlight connections. Tag names represent a project, geographic region or other indicator of interest to you and your organization. Multiple tags can be assigned to one connection.